
All you need is a mug, scissors, tape, paper, a thick sharpie, a thin sharpie, a pencil, and an oven.

First, you cut out a letter in whatever font you choose on paper (I free-handed mine). Then, put tape on the backside of the letter and tape it to the mug.

Secondly, take your thicker sharpie and outline the letter. After you finish outlining, take the letter and tape off the mug. Once you've taken the letter and tape off, go over the lines once or twice to make the letter thick.

Thirdly, take the thin sharpie and start designing. I did all my lines going one way and then went back over them.
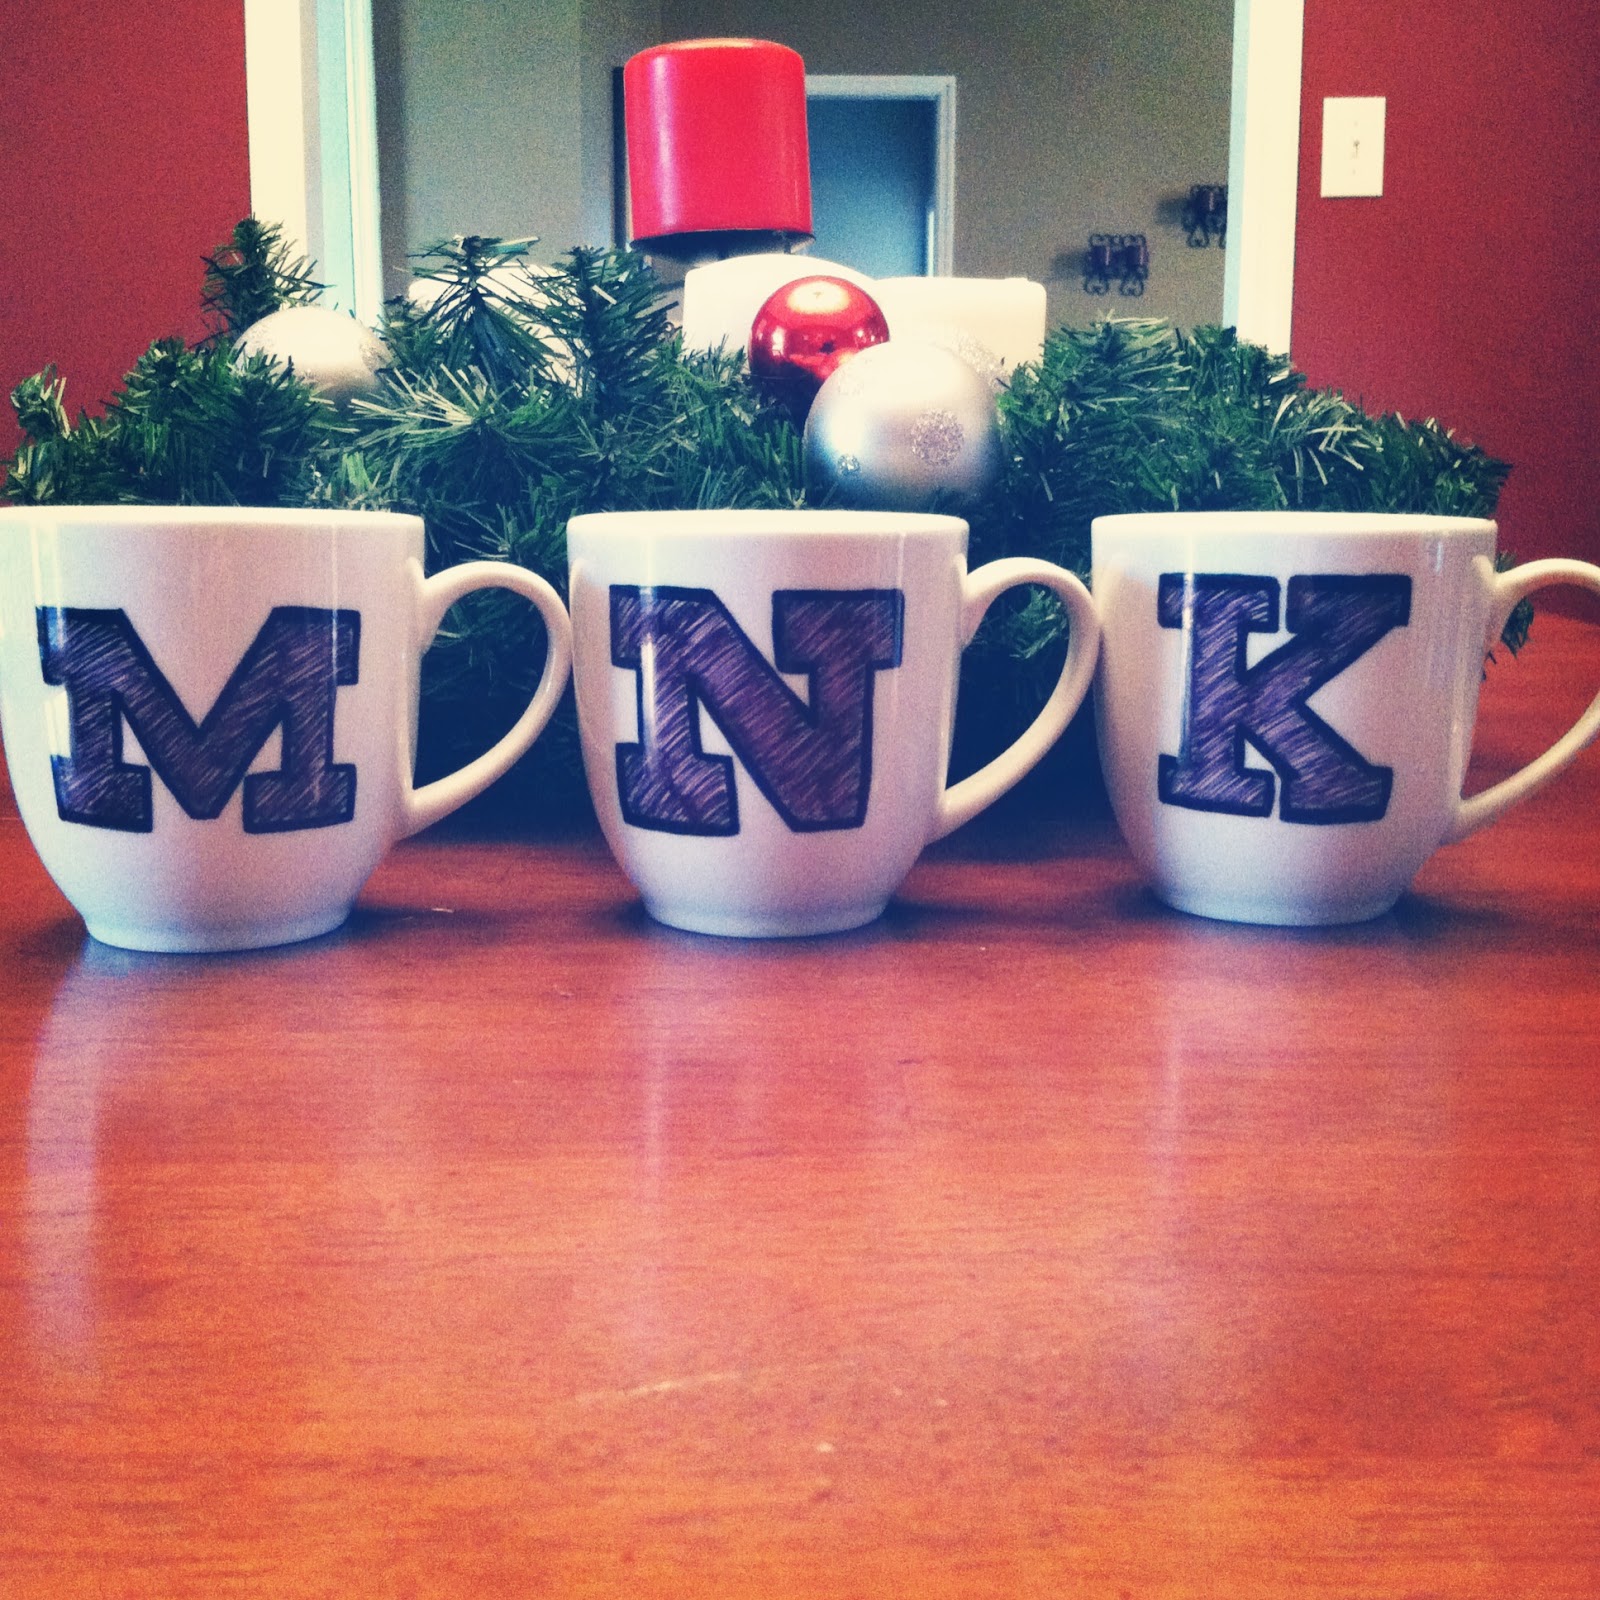
Once you've finished designing your mug, put it in the cool oven and heat to 450 degrees for 30 minutes and let cool for 24 hours.
These can only be hand washed. :)
-Carrie
No comments:
Post a Comment